A scone that rises tall isn't luck, and it isn't a secret ingredient. It comes down to two things you control more than any recipe: temperature and handling. Get those right and even a plain flour-and-cream dough will climb into something with a crackled top and a buttery, split middle. Get them wrong and you get a batch of pleasant but flat biscuits. The good news is that both are fixable, and neither requires special equipment.
Cold Butter Is Structure Waiting to Happen
Scones rise for two reasons. Baking powder produces gas, and butter produces steam. The baking powder part is mostly automatic if your tin isn't ancient. The butter part is entirely up to you, and it only works if the butter is still cold when it hits the oven.
Here's the mechanics. Butter in a scone is not there just for flavor. It sits in flat pieces between layers of flour, and when the oven heat reaches it, the water inside the butter turns to steam and pushes those layers apart. That push is what gives you the vertical lift and the flaky interior. If the butter has already softened and blended into the flour before baking, there are no distinct pieces left to steam. You get a dense, short, flat scone instead.
How cold is cold enough?
Cold enough that a cube is uncomfortable to hold. When you squeeze a piece between your fingers, it should crack or crumble, not smear. If it smears, it's too warm and the clock is ticking.
Three ways to keep it cold
- Cube and chill. Cut cold butter into rough half-inch cubes, then put them back in the fridge for 15 minutes while you measure everything else.
- Grate it. Run a frozen stick of butter across the large holes of a box grater. The shreds incorporate faster and more evenly, which means less handling overall.
- Freeze and flick. Freeze the cubed butter, then toss the frozen pieces with a spoonful of your flour so they stay separate.
Handling: Less Is the Whole Trick
Overworked dough is the second most common reason scones bake up squat. Every time you knead or squeeze, two things happen: gluten develops, which makes the crumb tough, and the butter gets pressed into the flour, which kills the steam pockets you just built.
Use your fingertips, a pastry blender, or two butter knives in a crossing motion. Stop when the mixture looks like coarse meal with a few pea-sized butter pieces still visible. Those visible bits are not a mistake. They're the point.
Then add your liquid and stir with a fork just until the dough is shaggy and barely holds together. A dry-looking bowl with a few floury patches is right. Dump it onto the counter and fold it two or three times — gather, press, turn, repeat — only until it comes together. Pat it into a round. That's it. No kneading.
Keep the Rest of the Dough Cold, Too
Warm buttermilk or cream warms the butter the second it touches the bowl. Cold liquid keeps everything in place. Straight from the fridge, no exceptions.
If your kitchen is hot, chill the mixing bowl for ten minutes first, and if you notice the dough starting to feel greasy or sticky while you're shaping it, slide the whole thing into the fridge for five minutes. For shaped scones, a rest of 15 to 30 minutes in the fridge before baking is worth the wait. It firms the butter back up and helps the scones hold their edges. In a hurry, ten minutes in the freezer does the same job.
Heat: A Hot Oven and a Hot Surface
You want a fast, strong burst of heat at the start. That sets the outside structure before the butter melts out, which is exactly when the lift happens. A slow oven gives the butter time to leak before the crust can hold anything in.
Set the oven to 400°F to 425°F and preheat it fully, which often takes 20 to 25 minutes no matter what the little light says. An inexpensive oven thermometer is one of the most useful things you can own here, because oven dials are frequently off by 25 degrees or more.
A preheated baking surface helps as well. Slide a sheet pan into the oven while it heats, then lay your parchment and scones onto the hot pan. A cast-iron skillet works nicely for this too. Cold metal under the dough chills the bottom layer and slows the rise right where you need it most.
Give the scones two inches of space between them. Crowded scones trap steam, and steam makes them slump sideways instead of up. And resist opening the door for at least the first 12 minutes.
Shaping and Cutting: Height Starts at the Edges
Pat the dough to about one inch thick, or a little more. If you roll it to half an inch, you will get half-inch scones no matter how good your technique is elsewhere.
When you cut, use a sharp knife or a bench scraper and press straight down in one firm motion. If you use a round cutter, press down and lift without twisting. Twisting seals the cut edges together, and sealed edges can't open and climb. Flour the blade or cutter between cuts so it doesn't drag.
Wedges cut from a round are the easiest route because there are no scraps to re-roll. Re-rolled dough has been handled twice, and those scones always bake up flatter than the first batch. If you do have scraps, press them gently into a rough block and accept that they'll be a little shorter.
Why Scones Fall Flat
If your last batch spread instead of rose, one of these is usually the culprit:
- Soft butter. If it blended into the flour instead of staying in pieces, there's nothing to steam.
- A cool oven. Underpreheated or under-tempered ovens let the butter leak out before the crust sets.
- Too much liquid. Wet dough spreads outward rather than upward.
- Dough rolled too thin. Height in the pan becomes height in the oven.
- Twisted cutter. Sealed edges pin the layers down.
- A crowded pan. Trapped steam softens the sides and lets them lean.
- Stale baking powder. A quick test: drop a spoonful into hot water. If it doesn't fizz hard, replace it.
A Short Checklist Before the Oven
Butter cold and in visible pieces. Liquid cold. Dough handled as little as possible and patted at least an inch thick. Edges cut clean and straight. Oven fully preheated to 400°F or above, with the pan already hot. Scones spaced two inches apart. Door closed for the first 12 minutes.
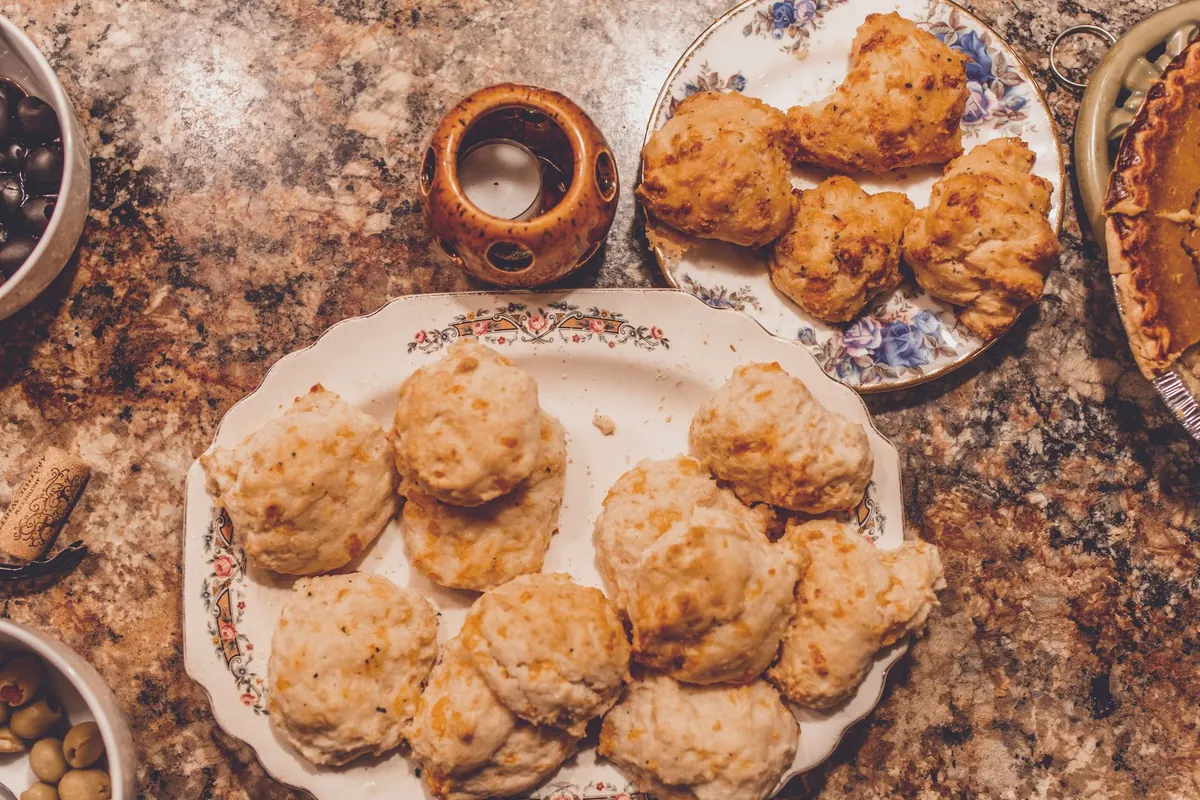
Do those and you'll get the rise you're after: a tall, even batch with a clean split around the middle. Once you've baked a tray that way, the technique becomes habit, and it will hold up whether you're making plain cream scones or something loaded with cheese and herbs.
Photo: RitaE / Pixabay